Video Production and Editing

To effectively tell your stories, you’ll need to work toward mastering all of the the tools of video production and editing.
Since you’ll probably film more content then you’ll later use in the final video, it’s important to think about editing along with planning the video shoot.
Editing is the final stage of your video production. It takes all of that raw footage and brings it together in a cohesive and coherent final message.
Pre-Produce the Video and Write the Script
The editing process really begins in pre-production and in writing the script.
First, pre-production will establish your vision for the final video. It will hone in on the possibilities available for shooting the video. For example, things such as budget, location, crew, and talent. Therefore, knowing what the opportunities and limitations are in shooting your video will help to craft the story you’ll tell.
Second, writing the script gets this vision down on paper. As a result, the script will give you the blueprint for shooting your video. Moreover, it is the first edit of your final video.
Film the Video
Obviously, filming the video is usually the fun part.
Even so, of all of the skills needed for video production and editing, the skills needed to film the video is perhaps the most critical. You’ll have to get all the shots, notwithstanding the time and constraints that your production allows for getting those shots.
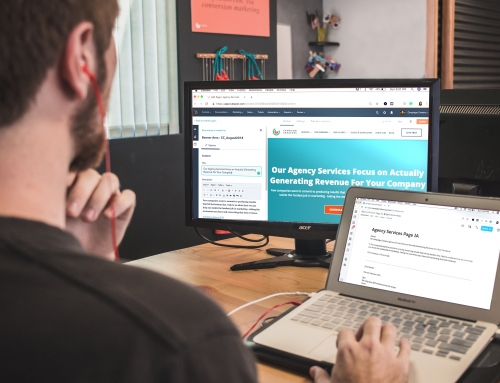
Import and Organize the Media
At LumaVox, we use Adobe Premiere for our video editing. The specific steps of your process may vary a bit if you’re using a different editing app, but the basic process is the same.
To begin, you’ll import your video and audio clips as well as assets into Premier Pro using the Import Command, the Media Browser, or Adobe Bridge. Whichever method you use, be sure to give a lot of thought to how your clips and assets will be organized. As a result, it will make the editing process much easier if you can quickly find the clips and assets you need.
Not only is Adobe Bridge a powerful media manager, but best of all, it’s free!
You can download it here.
Edit the Dialog Tracks
Next, I recommend that you edit the dialog tracks. These will be the tracks of your voice overs, interviews and talent dialog. People will use different nomenclature for these tracks, but here at LumaVox we call any track that is of people talking a dialog track.
Editing the dialog tracks first will do two things.
First it will help establish the arc of your story. Of course this will be different if your video relies mostly on b-roll clips and less on dialog, but small business marketing videos usually have dialog tracks to help tell the story.
Second, it will make the editing process go much faster. For example, once the dialog track of your interview is cut together, it is much easier to find the right b-roll clips to lay on top of it.
Add Music Tracks
Any music tracks you want to use should be laid in next. Remember to always have copyright authorization to use any music clips.
By the end of this step, you’ll have a rough cut audio version of your final video. To be sure, this is a milestone step along the road of your video production and editing.
Add B-Roll Clips
Now comes the fun of adding in your b-roll clips.
B-roll refers to the supplemental footage used as cutaways in your sequences. In effect, your b-roll will visually reinforce the story told in your dialog tracks, or tell the story on its own for sequences that don’t have dialog.
Be sure to capture enough b-roll in your video shoot to cover all possibilities in your final edit. Again, this is a good reason to start the process of video production and editing with pre-production and script writing.
Edit Motion and Color Correct
The next step is to edit motion and color correct.
The motion effect in Adobe Premiere is used to effect position, scale, and rotation of a clip. You can use the motion effect to do optical pans and zooms, as well as set the framing of your shots.
The color correction tools in Adobe Premiere will effect the exposure.
Add Lower Thirds and Cards
Now is a good time to put in your lower thirds and your cards with graphics and text.
Add Transitions
Transitions come next. I recommend that you leave these for the end of your edit. That way, if you need to switch out clips or need to change the length or motion on a clip, you won’t have to readjust the transition.
Export the Video
Finally, export your video.
If you’re using Premiere Pro, you’ll export using Adobe Media Encoder. It’s a robust program in itself, so if you haven’t used it you’ll want to get up to speed with a tutorial. Where you’ll publish your video is the primary decision you’ll make in adjusting the settings in Media Encoder. Each platform has an optimum setting for export. So it will be slightly different for Facebook, YouTube, Vimeo, or for hosting on your own web site.
Planning Video Production and Editing Results in High Quality Video
As with many creative tasks, editing video at first can seem daunting.
However if you break down the process into manageable chunks, in time you’ll find that the process will easily flow along. It’s a matter of gaining experience with the process, and then relying on the process to work through and complete your video project.
The featured photo is courtesy of Jakob Owens.


Leave A Comment